AREDN MESH Node Setup
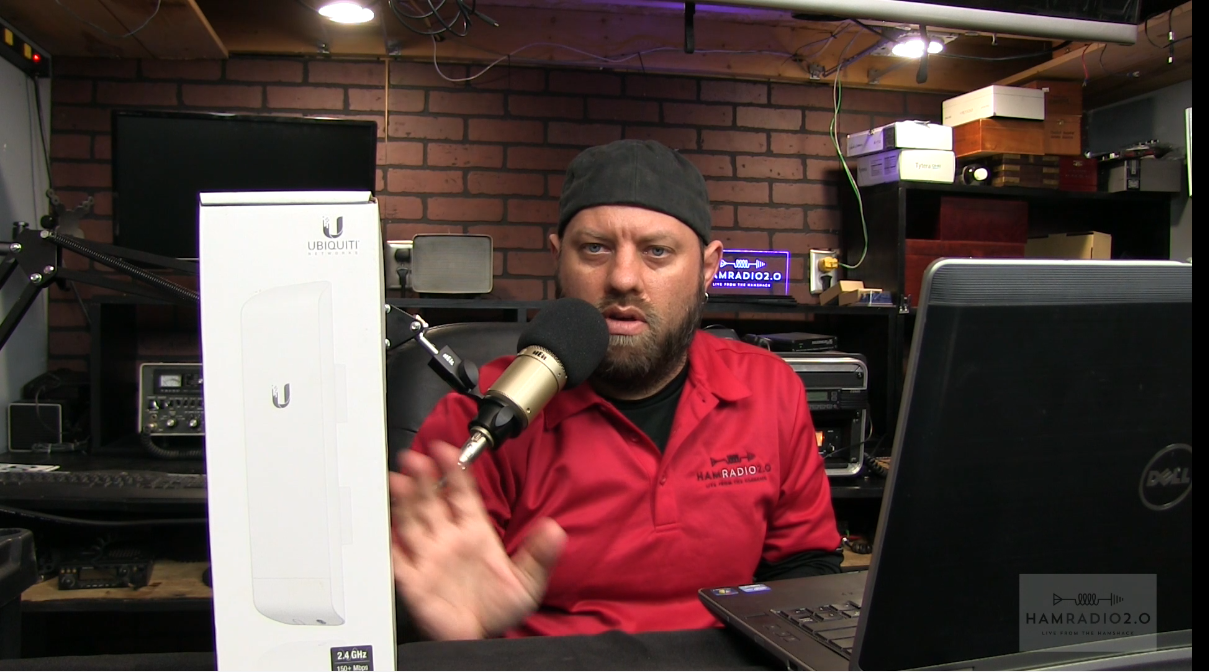
In Episode 47, the AREDN Team provides a history of MESH networking for Amateur Radio, and gives some examples of the newest features in the AREDN firmware for Ubiquiti Nodes. In this episode, I will walk you through the process of setting up a new Ubiquiti Node from scratch, and flashing it with the latest AREDN firmware. Then we will connect it to another node and look at the channel options on the firmware itself.
MESH networking is a pretty new concept in Amateur Radio, at least in my area, and it has some great potential. I suspect I will be doing more episodes in the future with deeper dives into AREDN and into MESH Networking itself.
Anyone who has insight about MESH in your area is welcomed to comment below.
The wireless radios I use in this video are linked below:
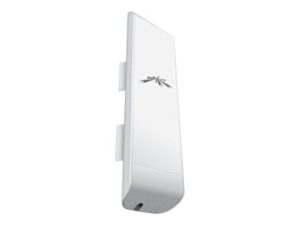
Ubiquiti NanoStation M2 – Wireless Access Point – AirMax (NSM2US)
Ubiquiti BULLET-M2-HP Outdoor 802.11 B/G/N M2HP
Follow me on:
- YouTube
- Ham Radio 2.0 Facebook Group
- Email List
- RSS Feed for Audio Podcast
- iTunes Audio Podcast


need to use the pico station m2 hp
That one works also
One thing I would warn about is everyone putting up a node on channel -2. It’s akin to putting up multiple repeaters on the same frequency pair. Instead work with the hams around you to create a “mesh island” with a central hub then use a different band (3.4 or 5.9 gig) as a backbone to other “islands.” Set minimum requirements for a node such as 25 DB SN & 60 LQ. All this is described on the AREDN website. Also, we have found verticals to be very short range due to their downward electrical tilt and high noise floor.